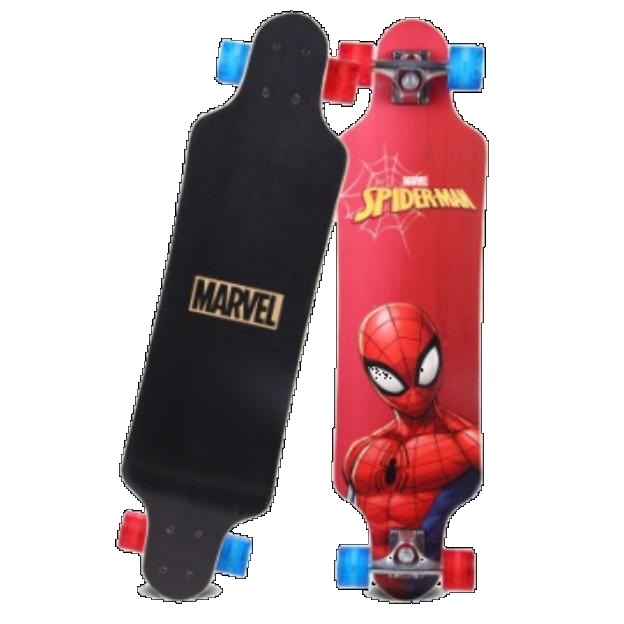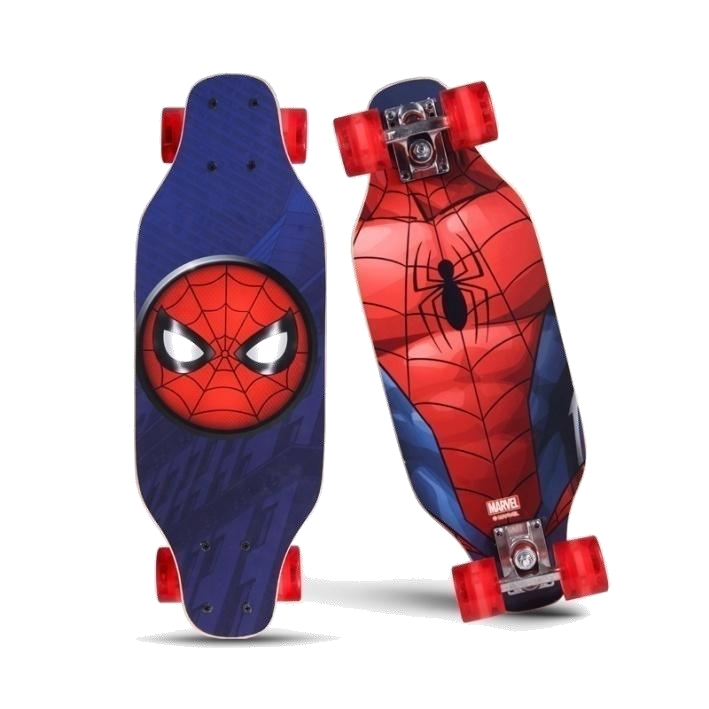

Custom skateboards have become more popular than ever, offering riders the opportunity to express their unique style and preferences through personalized designs. If you're looking to create a custom skateboard that truly stands out, this comprehensive guide will walk you through the process step by step. From selecting the right deck size to choosing the perfect grip tape, we'll cover all aspects of designing your dream board.
When it comes to custom skateboards, the deck is the foundation of your setup. The first step in creating your dream board is choosing the right deck size and shape. Whether you prefer a standard popsicle shape or a more unique design, there are countless options to choose from.
Deck Size:
The size of your deck will depend on your personal preferences and riding style. Smaller decks (7.5" to 8") are ideal for street skating and technical tricks, while larger decks (8" and above) offer more stability for ramp and transition skating.
Deck Shape:
From classic symmetrical shapes to modern asymmetrical designs, deck shapes can greatly impact the feel and performance of your skateboard. Experiment with different shapes to find one that suits your style.
Trucks and wheels are essential components of any skateboard setup, and choosing the right ones can greatly impact your riding experience. When customizing your skateboard, it's important to select high-quality trucks and wheels that match your deck size.
Trucks:
The width of your trucks should match the width of your deck to ensure optimal performance. Look for durable truck brands like Independent or Thunder for reliable performance.
Wheels:
The size and hardness of your wheels will determine how your skateboard handles different surfaces. Smaller, harder wheels are ideal for street skating, while larger, softer wheels provide a smoother ride for cruising and park skating.
Grip tape may seem like a minor detail, but it plays a crucial role in both the performance and aesthetic of your skateboard. When customizing your board, consider choosing grip tape that complements your design and provides the right amount of traction for your riding style.
Grip Tape:
Opt for high-quality grip tape brands like Mob or Jessup for maximum grip and durability. You can also get creative with custom grip tape designs or patterns to add a personal touch to your skateboard.
Hardware:
While hardware may not be the most exciting part of customizing your skateboard, choosing the right bolts and nuts is essential for ensuring that your setup is secure and safe to ride. Invest in quality hardware to prevent any issues while skating.
One of the most exciting aspects of creating a custom skateboard is designing your deck artwork. Whether you prefer a minimalist graphic or a vibrant custom painting, the design possibilities are endless when it comes to personalizing your skateboard deck.
Graphic Design:
If you're artistically inclined, consider creating your own custom graphic design for your deck. Alternatively, you can collaborate with a local artist or graphic designer to bring your vision to life.
Custom Printing:
Many skateboard companies offer custom printing services that allow you to upload your own artwork or designs to be printed directly onto your deck. This is a great option for those who want a professional-quality custom deck without the hassle of DIY painting.
Once you've selected all the components and personalized your deck design, it's time to assemble your custom skateboard. If you're new to building skateboards, don't worry – assembling your setup is easier than it may seem.
Step 1: Attach Trucks:
Use a skate tool to attach the trucks to your deck, making sure that they are aligned properly and securely tightened.
Step 2: Add Wheels:
Slide the wheels onto the trucks, making sure that the bearings are properly seated inside the wheel hubs.
Step 3: Apply Grip Tape:
Carefully apply the grip tape to the deck, smoothing out any air bubbles or wrinkles for a secure fit.
Step 4: Install Hardware:
Secure the trucks to the deck using the hardware provided, making sure that all bolts are tightened evenly.
Step 5: Finishing Touches:
Double-check that all components are securely attached and properly aligned before hitting the streets with your new custom skateboard.
Designing a custom skateboard is a fun and rewarding process that allows you to create a one-of-a-kind setup that reflects your personality and style. By following the steps outlined in this guide, you can bring your dream skateboard to life and hit the streets in style. Remember to experiment with different components and designs to find the perfect setup that suits your riding preferences. Whether you're a seasoned skater or just starting out, a custom skateboard is a great way to showcase your creativity and make a statement on and off the board. Happy skating!
6-20 个字符(仅限字母加数字)
密码不一致